Production-Grade Battery Modules for Raspberry Pi Zero

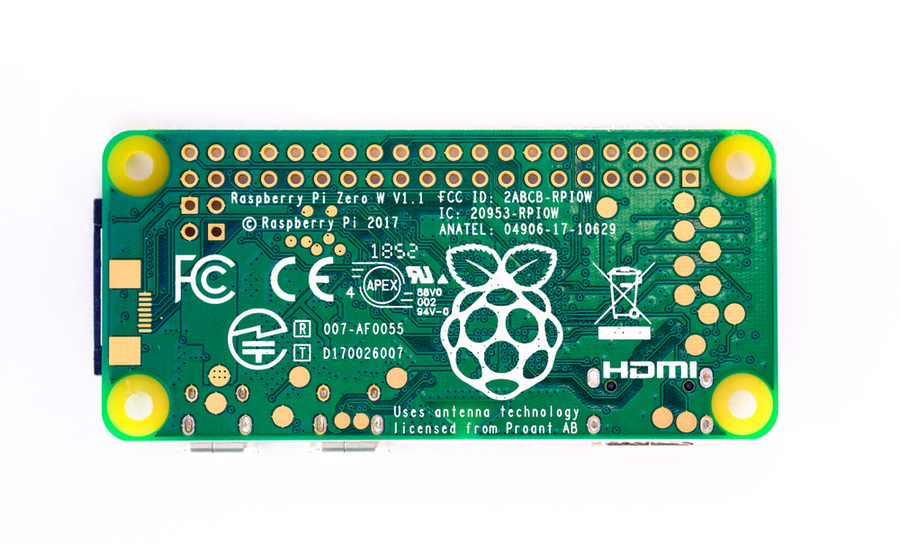
I’ll admit, I’m a big fan of Raspberry Pi. This set of inexpensive boards packs plenty of general purpose computing power into a small form factor, it easily connects to a LAN/WiFi and is accessible via SSH, and its memory is easily expandable with a micro SD card. It’s also easy to get a new prototype embedded application up and running directly from your laptop. The one aspect that prevents its application as a production-grade embedded system in the field? It’s the lack of uninterruptible power.
If you can add an integrated battery module to a Raspberry Pi board, then you have a source of uninterruptible, rechargeable power for a variety of embedded applications. While you can design your own version of a Raspberry Pi board and include an integrated battery pack, you can use some powerful modular design tools to build a battery module for Raspberry Pi boards.
Power Consumption Comparison
If you want to build a battery module for Raspberry Pi, then you need to know something about the power consumption in these boards. The power consumed during operation depends on which features on the board are enabled. If you need a display via an HDMI port, then you’re going to be burning power at a much faster rate. Thankfully, most embedded applications won’t need a display or touch screen, and those that do will likely plug into wall power (think industrial control equipment as IoT devices). The other features that account for significant power consumption are features connected to a USB port and any of the LEDs on the board.
The table below shows a nice comparison of power consumed by different Raspberry Pi models with the HDMI and LED controls disabled. This gives you a nice benchmark for determining your minimum power needs in a battery module for Raspberry Pi. I’d like to thank Jeff Geerling for taking the current and power measurements. The right column shows the lifetime you can expect with a 2000 mAh battery.

You can get a days worth of use out of the A+ or Zero models with a reasonably small battery pack. 2000 mAh and larger NiMH batteries are widely available. When you double up your batteries, you can get at least two days worth of use out of the A+ or Zero models before recharging.
One key to keeping power draw low during operation is limiting the number of daemons running on the board as each daemon forces the processor to wake and run in the background. Also consider minimizing the number of USB-connected accessories and only using optimized embedded applications that don't require a large software stack.
Battery Module for Raspberry Pi: Design Challenges
Any portable battery module designed for charging a smartphone over USB can be used with a Raspberry Pi board. Most battery modules for Raspberry Pi connect to the board with a 2 or 3 wire connector, or through a USB/micro USB port. These modules range in size and do not attach directly to the board. Rather, they dangle off to the side and need to attach to the enclosure for your Pi board. Others attach as a HAT on top the standard 40-pin header and hold a flat Li-ion battery. These solutions are a bit bulky, but they give you an uninterruptible source of backup power for your Raspberry Pi.
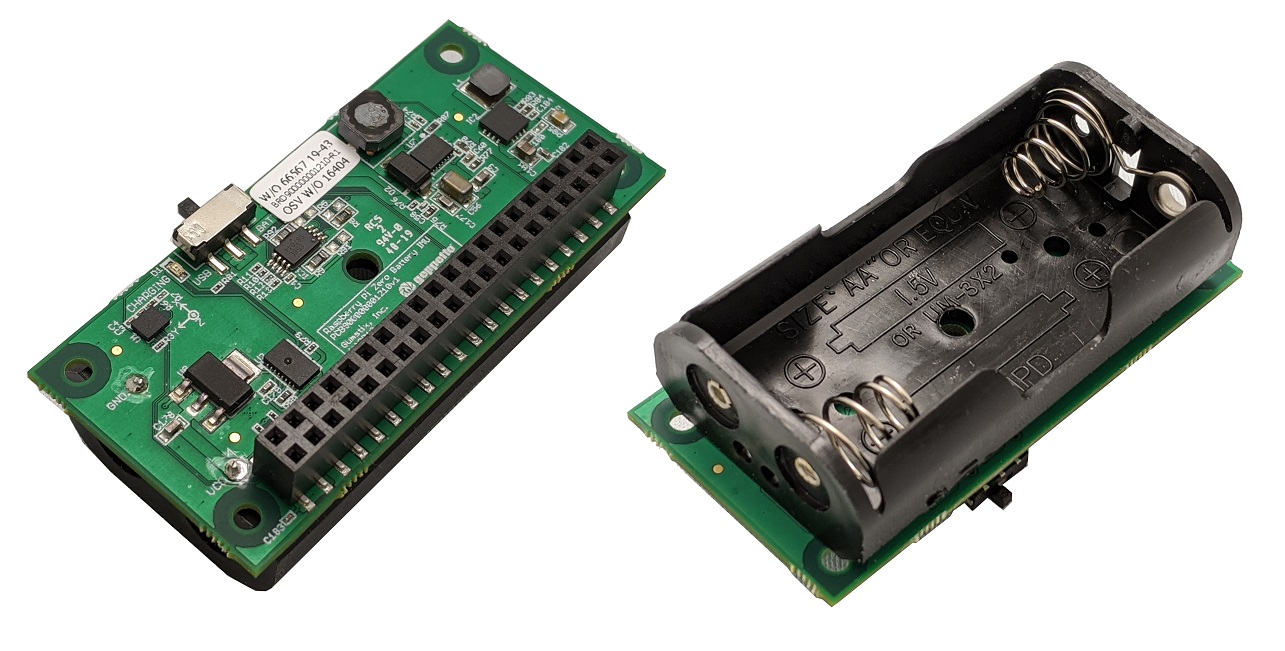
Rather than connecting to the board via USB or a 2/3 wire connector, the best solution integrates a battery pack directly onto the board. This provides the functionality of a HAT-based battery pack with much greater total charge; you can get ~5000 mAh of charge with two NiMH or NiCd batteries with the battery module shown below.

This beautiful Raspberry Pi Zero board from Gumstix includes a battery module that supports NiMH or NiCd batteries directly on the board. You won’t need to use a separate battery module for uninterruptible power, and you’ll still have access to the 40-pin header for connecting to other devices. The batteries can also be easily charged by plugging a standard charger to the USB micro port. There is also an onboard Bosch BMI160 3-axis accelerometer and 3-axis gyroscope for motion tracking, and you can add a camera for wireless video streaming.
Build Your Next Raspberry Pi Product in Upverter
There are plenty of boards you can build using the modular electronics design tools in the Upverter Board Builder application. By taking a modular approach, you can easily customize a baseboard for a variety of COMs and integrate other devices into a single unit. You can also customize existing products and build your own variant of the battery-powered Raspberry Pi board shown above. Designers with any skill level can easily graphically connect modules in a web-based interface. There are no tools to download and install, and there are plenty of standardized modules available within the platform.
The modular electronics design tools in Upverter give you access to a broad range of industry-standard COMs and popular modules, including a battery module for Raspberry Pi Zero. You can create production-grade hardware for a variety of applications in a drag-and-drop user interface and quickly send your board out for manufacturing. If your system needs additional functionality, you can include wireless connectivity, an array of sensors, high resolution cameras, and much more.
Take a look at some Gumstix customer success stories or contact us today to learn more about our products, design tools, and services.
